Disclosure: kittynex.com participates in affiliate programs. If you buy through a link on this page, we may earn a commission at no extra cost to you.
By Jason Feng, Founder & Researcher. See how this review was researched.
Quick answer
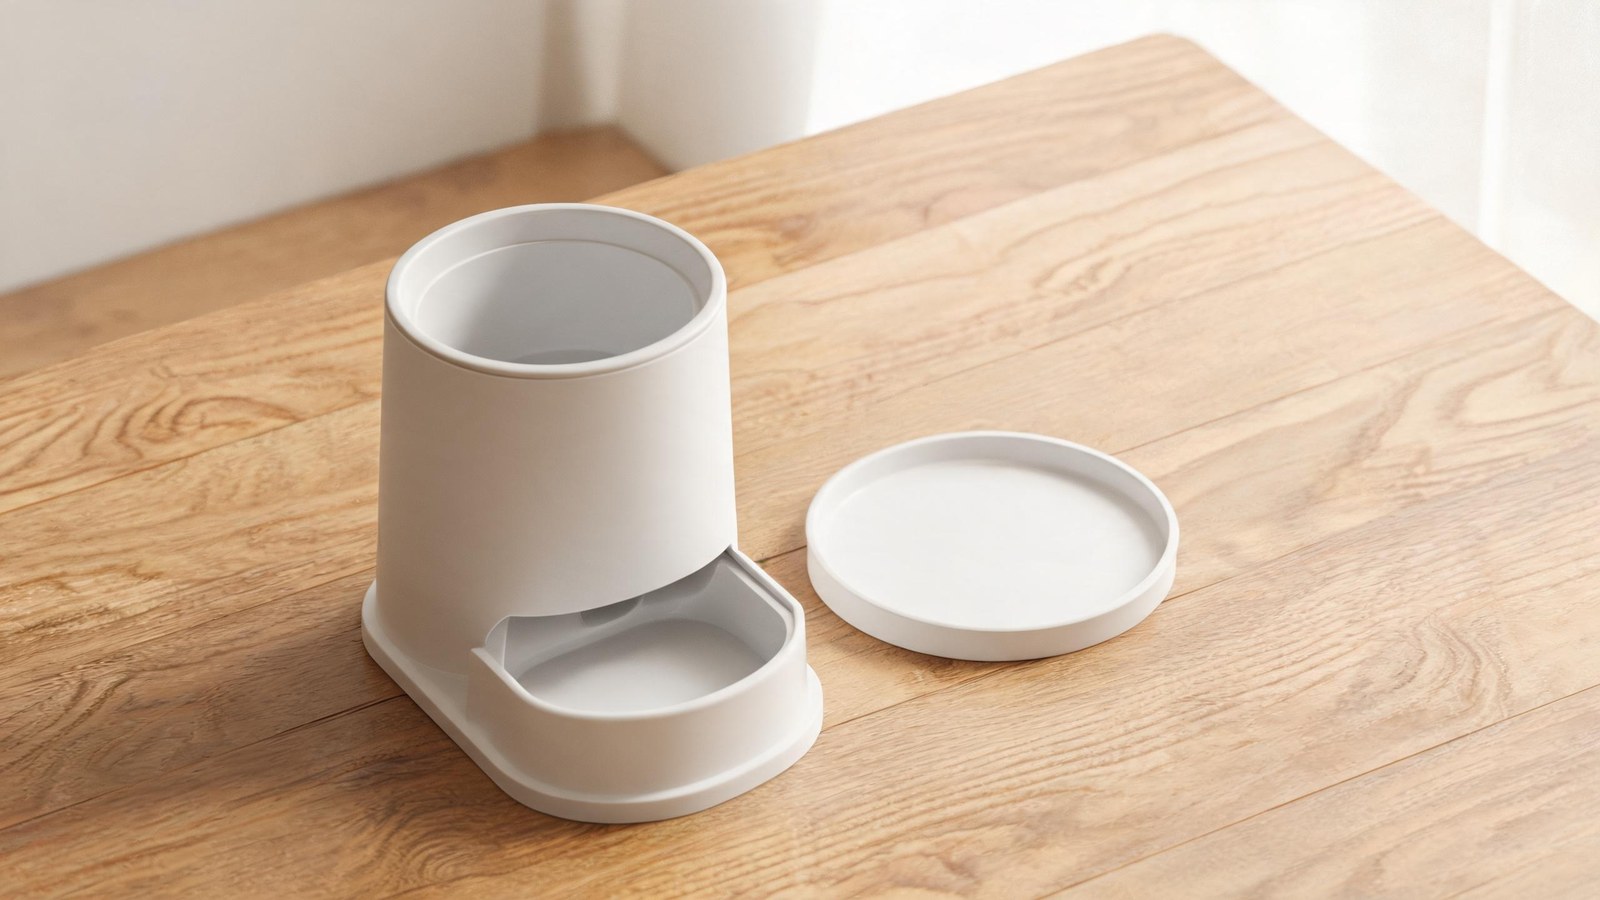
Four parts come off and can be hand-washed on almost every feeder: the hopper lid, the hopper, the dispenser or chute cover, and the bowl. Two things must never get wet: the control panel and the base.
The chute is the part that actually causes trouble. It is where kibble residue and moisture meet, and it is not removable on most models, so it needs wiping rather than washing. Whisker’s own guidance says clean at least weekly, then says at least monthly after the first use. Read the shorter interval as the one about the chute.
Table of contents
- What comes off and what does not
- The part-by-part wash table
- Where mould actually starts
- The monthly teardown, in order
- Dry it before you refill
- Dry kibble vs freeze-dried
- Desiccant: the part nobody replaces
- Multi-cat and outdoor feeders
- What a dirty feeder looks like before it fails
- Our verdict
- How we researched this
- Sources

What comes off and what does not
Automatic feeders are built around a simple split: a food path that is meant to be cleaned, and a control section that is not.
On the Feeder-Robot, Whisker lists six removable parts that can be hand-washed with mild soap: the hopper lid, hopper insert, hopper, dispenser, dispenser flap, and food bowl. Three parts that touch food cannot be removed and must be wiped: the food chute, the food bowl holder, and the status indicator tower. Whisker is blunt about the two that must never be immersed: the control panel and the base.
PETKIT’s Fresh Element Solo follows the same structure, describing a detachable hopper and stainless bowl for cleaning, with the dispensing impeller inside the unit. An owner review on the PETKIT product page notes the impeller that portions the food cannot be disassembled for cleaning, which also makes it hard to dry completely.
Petlibro’s Granary 2 states the boundary even more precisely: only the stainless bowl and bowl holder are washable, and the area beneath the bowl holder must not be rinsed or submerged because it contains electronics.
So the pattern holds across three brands: food contact surfaces come off, electronics stay, and the chute, the highest-risk area, is usually in the second category.
The part-by-part wash table
| Part | Removable | Water-safe | Method | Frequency |
|---|---|---|---|---|
| Hopper lid | Yes | Yes | Hand-wash, mild soap | Monthly, and any time the hopper is emptied |
| Hopper / food tank | Yes | Yes, hand-wash | Hand-wash, mild soap, dry fully | Monthly. Not dishwasher safe unless the maker says so |
| Hopper insert (Feeder-Robot only) | Yes | Yes | Hand-wash | Monthly |
| Dispenser and dispenser flap | Yes | Yes | Hand-wash, mild soap | Monthly, and after any jam |
| Food bowl | Yes | Yes | Hand-wash; stainless bowls tolerate hot water | Weekly to fortnightly |
| Bowl holder | Yes on Petlibro; fixed on Feeder-Robot | Yes on Petlibro, wipe-only on Feeder-Robot | Wipe, or wash if removable | Weekly |
| Food chute | No | No | Wipe with a damp cloth, soft brush; never rinse | Weekly, monthly at minimum |
| Impeller / portioning wheel | Usually no | No | Wipe; do not submerge the motor side | Monthly |
| Control panel | No | Never | Wipe with a cloth dampened, not sprayed | As needed |
| Base | No | Never | Wipe; spray onto cloth, not the unit | As needed |
| Desiccant holder | Yes | Wipe only | Replace the bag rather than washing it | Every 14 days per Petlibro |
| Rubber seals and gaskets | Varies | Wipe | Wipe; replace if cracked | Monthly inspection |
Two rows are worth arguing about. The hopper row says hand-wash, not dishwasher, because none of the three manufacturers captured here states that the hopper is dishwasher safe: Whisker says hand-wash removable parts, Petlibro says only the bowl and bowl holder are washable, and PETKIT describes a detachable hopper without a dishwasher claim. Owner reviews on the PETKIT page claim most pieces can go in a dishwasher, which is an owner claim rather than a manufacturer instruction, and a warped hopper is a feeder that no longer seals.
The chute row determines whether a feeder stays clean. Whisker suggests a small cleaning brush or toothbrush for food debris in the chute with the dispenser removed, and warns to test a small area first because some brushes scratch plastic; a scratched chute holds residue, which is the same argument VCA makes about scratched plastic dishes.
Where mould actually starts
Mould needs moisture, food, and time. A dry kibble feeder supplies food and time continuously, so the question is where moisture comes from. Four sources, in descending order of how often each causes a problem: condensation from temperature cycling, where a hopper in a cool room with a warm kitchen nearby crosses the dew point daily and the inside of the lid is where it collects; the bowl, since a cat drinks and then eats, or eats wet food from the same bowl in a mixed household, and moisture migrates up the chute by capillary action when kibble sits in it; the chute, since kibble leaves dust and broken pieces that absorb ambient humidity and pack against the wall; and the hopper’s lower cone, the narrowest part, least accessible to a cloth and where the last cup of food may sit for days.
The remedy is not more washing, it is drier storage: desiccant in the lid, a hopper that is emptied and washed rather than topped up indefinitely, and a bowl washed often enough that it is never damp when kibble lands in it.
Petlibro recommends replacing feeder desiccant every 14 days, two bags at a time, and sells a 6-pack at $15.99. That is the cheapest preventive maintenance in the category and the one most often skipped, because a saturated desiccant bag looks identical to a fresh one.
The monthly teardown, in order
Whisker’s procedure is the most detailed published sequence in this category, and the order matters: doing it out of sequence means handling food twice.
- Power off and unplug. Not sleep mode: unplugged.
- Remove the bowl and discard what is in it, including from the bowl holder.
- Remove the hopper lid by squeezing the handles toward each other.
- Pour remaining food into a temporary container. Check the chute and dispenser for trapped kibble while the hopper is off.
- Lift out the hopper insert if the model uses one.
- Remove the hopper by rotating the lock knob counterclockwise and lifting it off the base.
- Slide the dispenser off the unit and detach the rubber flap.
- Hand-wash the removable parts with mild soap: lid, insert, hopper, dispenser, flap, bowl.
- Wipe the food chute, bowl holder, and indicator tower with a mild cleaner. Use a soft brush in the chute.
- Rinse only the removable parts, and let everything air dry completely.
- Reassemble: dispenser, hopper, insert.
- Plug in, power on, add food to the fill line, replace the lid.
The step people skip is 10: drying is not cosmetic. A hopper reassembled damp puts moisture directly against the food, and the sealed lid keeps it there. Whisker’s instruction is to let parts air dry completely before reassembling.
PETKIT’s procedure differs at step 6 because its hopper detaches without a lock knob, and Petlibro’s differs at step 9 because its bowl holder is removable and washable while the area beneath it is not. The sequence is otherwise the same across brands.
Dry it before you refill
The single most useful habit in feeder maintenance is never putting food into a damp hopper. Three practices make that possible.
Wash in the morning, refill in the evening. A hopper left open on a dish rack for eight hours is dry. One wiped with a towel and refilled immediately is not, because the seams and the lock knob recess hold water that a towel cannot reach.
Dry the chute with the hopper off. The chute is fixed, so it cannot be left on a rack. A dry cloth on a brush handle, run through it twice, is the difference between a chute that dries and one that stays damp behind the flap.
Keep a second hopper if the model sells one. None of the three brands captured here lists a spare hopper as a standard accessory, so this is not an option for most owners. Where it is, a rotation removes the pressure to refill before drying.
The failure this prevents is caking: kibble that absorbs moisture, softens, and welds into a bridge across the hopper outlet. A bridged hopper reports successful dispenses and delivers nothing, the failure covered in our feeder troubleshooting guide.
Dry kibble vs freeze-dried
The cleaning schedule is written for dry kibble and is wrong for raw or freeze-dried food.
PETKIT’s Fresh Element Solo permits freeze-dried food, publishing size limits rather than food-type limits: dry kibble up to 12 mm diameter, freeze-dried up to 9 mm.
Petlibro’s Granary 2 is explicit in the other direction. It is designed for dry kibble only, states a 2 to 15 mm compatible kibble size in the specifications and 2 to 18 mm in the FAQ, and does not recommend oversized or irregular pieces such as cubes or crescents.
Where freeze-dried food is used, three adjustments follow: the hopper gets washed weekly rather than monthly, because freeze-dried pieces crumble and the crumbs are hygroscopic; the chute gets brushed every refill rather than weekly, for the same reason; and the desiccant gets replaced on schedule rather than on appearance, because it will saturate faster and look the same either way.
Wet food is a different machine entirely. No feeder in this article is rated for wet food, and the cleaning problem with wet food is not residue but bacterial growth in a warm sealed box. Our guide to automatic feeders for wet food covers which designs are built for it and why a dry-food hopper is the wrong tool.
Desiccant: the part nobody replaces
Desiccant is a consumable with a fixed life and no sensor: nothing tells you it has stopped working.
Petlibro publishes the clearest instruction in the group: replace every 14 days, two bags at a time, with its own FD002 packs. It sells a 6-pack at $15.99 and a 12-pack at $25.99. Two bags a fortnight is 52 bags a year, so the 14-day interval costs about $139 a year in 6-packs for one hopper.
That is not a small line item, and it is worth checking whether the interval is a genuine material limit or a conservative default. Petlibro does not state a saturation capacity, so a household in a humid climate and one in a dry climate are given the same advice.
PETKIT’s approach is app-based: its feeders send a desiccant replacement notification and the app tracks the interval. Whisker’s Feeder-Robot cleaning guide does not mention a desiccant at all, so its hopper appears to rely on the lid seal rather than a drying agent.
A practical middle course for owners who find the 14-day interval expensive: replace on schedule for the first two months, then inspect. A desiccant bag that has absorbed moisture is soft and clumped rather than loose and granular, which is a more reliable check than a calendar in a dry flat.
Multi-cat and outdoor feeders
Two situations change the schedule.
Multiple cats on one feeder means the hopper cycles faster and the chute sees more traffic: the bowl interval should drop to every few days and the chute brushed at each refill, while the hopper wash interval barely changes because it is driven by dwell time rather than throughput.
An outdoor or semi-outdoor feeder is a different problem. PETKIT warns against outdoor use for its fountain on the grounds that outdoor environments increase the risk of bacterial exposure, and the same logic applies to a feeder: an unheated porch cycles through dew points twice a day and invites insects. No feeder captured here publishes an outdoor rating.
A power cut is the third case. Every feeder in this group has a battery path: Whisker’s Feeder-Robot and PETKIT’s Fresh Element Solo use disposable batteries, while Petlibro’s Granary 2 has a built-in rechargeable backup rated for 24 hours of feeding. A feeder that has run on battery through an outage still needs its schedule checked, which our power outage guide covers in detail.
What a dirty feeder looks like before it fails
Owners usually notice a feeder problem as a feeding problem. Four symptoms precede it, and all four are cleaning signals.
| Symptom | What it usually means | Action |
|---|---|---|
| Kibble dust on the bowl rim after a dispense | Chute and dispenser are coated | Brush the chute, wipe the dispenser |
| Portions arriving short or uneven | Partial bridging in the hopper cone | Empty, wash, dry the hopper fully, refill |
| A sour smell when the lid opens | Desiccant saturated, or hopper washed and refilled damp | Replace desiccant, wash and air dry the hopper |
| Dark specks on the bowl or in the chute | Mould starting on residue | Full teardown, discard the food in the hopper |
| Feeder reports a dispense the cat did not get | Chute blocked downstream of the dispenser | Remove the dispenser, clear the chute |
| Cats eating faster or pawing at the unit | Portions reduced by a partial blockage | Same as above |
The fifth row is the one that gets misdiagnosed: a blocked chute produces a log full of successful dispenses and a hungry cat.
The connection between feeder and water is worth keeping in view, because a cat eating dry food drinks more: our comparison of automatic cat feeders covers models by capacity and portion control, and the stainless steel fountain guide covers the water side of the same routine.
Our verdict
Clean on a monthly cycle, with a weekly wipe of the chute and a weekly bowl wash: the minimum that keeps a feeder from becoming a mould incubator, and it resolves the two intervals Whisker publishes in the direction its own opening line points.
Treat the chute as the priority. It is the part that cannot be removed, cannot be rinsed, and collects the most residue. A soft brush and thirty seconds at each refill does more than a monthly deep clean.
Never submerge the base or the control panel, and never refill a damp hopper. Both mistakes cause failures that look like hardware faults.
Replace desiccant on the manufacturer’s interval until you have inspected a used bag and confirmed it is still loose.
If the feeder is dispensing but the cat is not eating, check the chute before checking the app. The dispense log records what the machine did, not what the cat received.
How we researched this
- Removable part lists, wash methods, prohibited areas, and cleaning intervals were read from each manufacturer’s own care page or product FAQ on 2026-10-29, fetched through a US egress with an en-US language header.
- The monthly teardown sequence follows Whisker’s published Feeder-Robot care and cleaning procedure, which is the most detailed step-by-step in this category. Differences on PETKIT and Petlibro models are noted where their own pages state them.
- Desiccant interval and pricing are Petlibro’s published guidance and product page prices. The annual figure is arithmetic on those numbers, not a manufacturer quote.
- Kibble size limits and food-type restrictions are manufacturer specifications.
- Dishwasher claims are attributed: no manufacturer captured here states that its hopper is dishwasher safe, and owner claims to the contrary are identified as owner claims.
- This is a research-based review. Specifications come from manufacturer documentation, with owner-reported cleaning and drying experience aggregated from public product reviews.
See the full methodology page for how sourcing and affiliations are handled.
Sources
Fetched on 2026-10-29 through a US egress with an en-US language header:
- https://www.litter-robot.com/support/article/feeder-robot-care-cleaning
- https://www.litter-robot.com/feeder-robot.html
- https://www.petkit.com/products/fresh-element-solo
- https://petlibro.com/products/granary-2-series
- https://petlibro.com/products/petlibro-granary-automatic-pet-feeder-with-camera
- https://www.petkit.com/products/eversweet-solo-2